The Hulk Product Options app allows you to create custom product options (like dropdowns, swatches, checkboxes, text boxes, etc.) and assign them to one or multiple products easily using Option Sets.
Follow the steps below to create and assign options to your products.
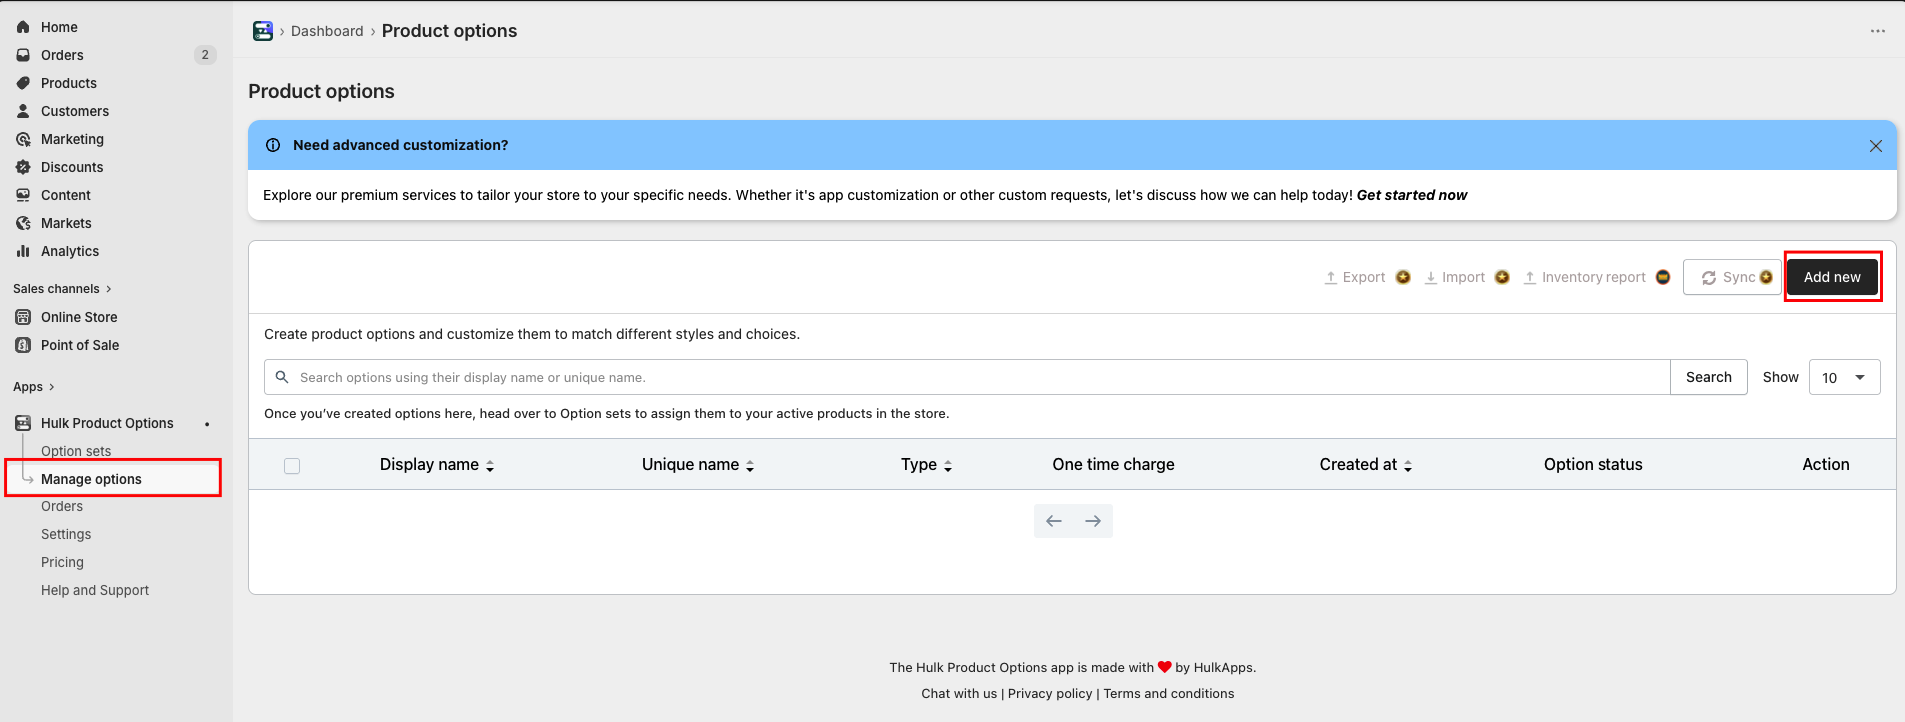
Create Option:
Navigate to the Manage options tab, then click “Add New”
- Enter an Option Display Name (visible to customers on the product page) and a Unique Name (used internally by the merchant to identify the option while assigning it to an Option Set and for app backend reference).
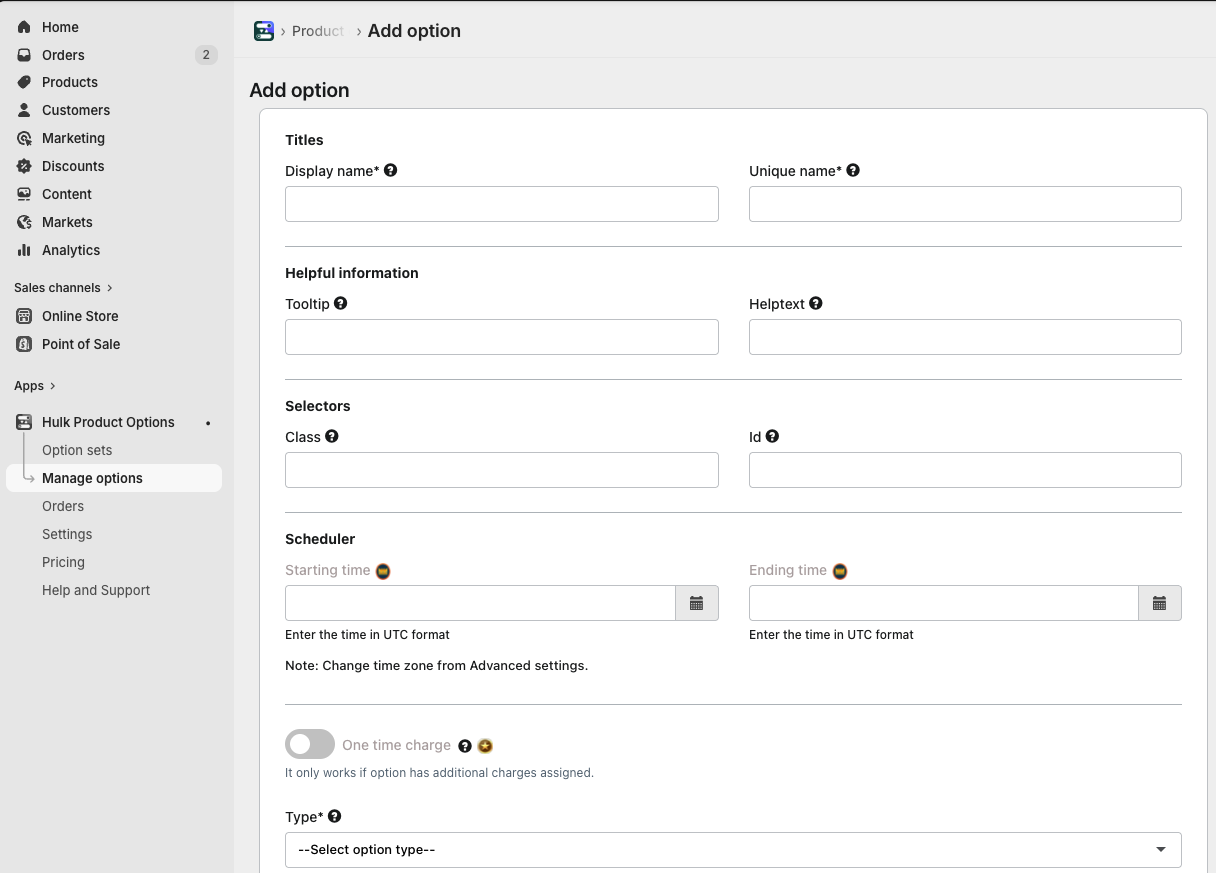
Helpful Information
These fields help you guide customers or manage backend context.
Tooltip:
Short text that appears when customers hover over the info icon (ℹ️) beside an option. Useful for clarifying details like “Choose your preferred color” or “Add engraving text here.”Helptext:
Descriptive text that appears under the option on the product page to provide extra context or instructions. Example: “Maximum 20 characters allowed.”
SelectorsUsed mainly for developers or for integrating with custom themes or scripts.
Class:
Allows adding a custom CSS class name to style the option or group it with others using the same styling.ID:
Assigns a unique HTML identifier for targeting specific options through custom scripts (JavaScript or CSS).
SchedulerDefines a time window during which this specific option will be visible or available for selection.
Starting time:
Sets the date/time when the option becomes active and visible to customers.Ending time:
Sets the date/time when the option becomes inactive or hidden from customers.Note: The time zone follows your store’s time format, which can be changed in Advanced Settings.
One Time ChargeWhen enabled, this makes the charge for that option apply only once per order, not per product quantity.
Example: A “Gift Wrapping” fee of ₹50 will apply once, even if multiple products are purchased.
This feature only works if the option has additional charges assigned.

- Next, choose the appropriate Option Type (e.g., Radio Buttons, Swatches, Dropdown, Checkbox, and more).

- After selecting the Option Type, add the corresponding Option Values — for example, Small, Large, or any values you’d like to offer for customers to choose from.

- Values can be added directly, or additional charges can be applied to specific values — for example, the Large option can include an extra add-on cost added in addition to the product price.

- After adding values to the option, a preview can be viewed in the right panel by clicking the See Preview button.

- This will display how the options will appear on the product page once the created option is assigned to an Option Set, as explained later in this article.

- Click the Save button at the top of the screen once the option, its values, and other details have been added.

Congratulations! The option has been created successfully.
Now, proceed to the next step — creating an Option Set, where this option can be assigned to all products or specific products in your store.
Was this article helpful?
That’s Great!
Thank you for your feedback
Sorry! We couldn't be helpful
Thank you for your feedback
Feedback sent
We appreciate your effort and will try to fix the article